Assignment 2 -
laser & vinyl cutting
Laser cutting
Project Information
The objective of my second assignment was to laser cut an object. The only requirements were that the project be parametric and pressfit.
Workload
| What was done | Time spent[hours] |
|---|---|
| Deciding what to make | 2 |
| Designing and drawing | 5 |
| Preparing design for cutting | 0.5 |
| Preparing laser for cutting | 1 |
| Assembly | 0.5 |
| Unwarping | 24 |
| Documentation | 5 |
| Total work | 14 hours [38 hours if you include unwarping] |
inspiration and design
Due to the nature of the assignment, I decided to laser cut something that I could use in my day to day life. Therefore i decided to laser cut a stand for my laptop. The dimensions of my laptop are as follows (W x D x H): 323.4 x 226 x 16.4 mm wich gives me the measurements I need to begin scetching the stand.
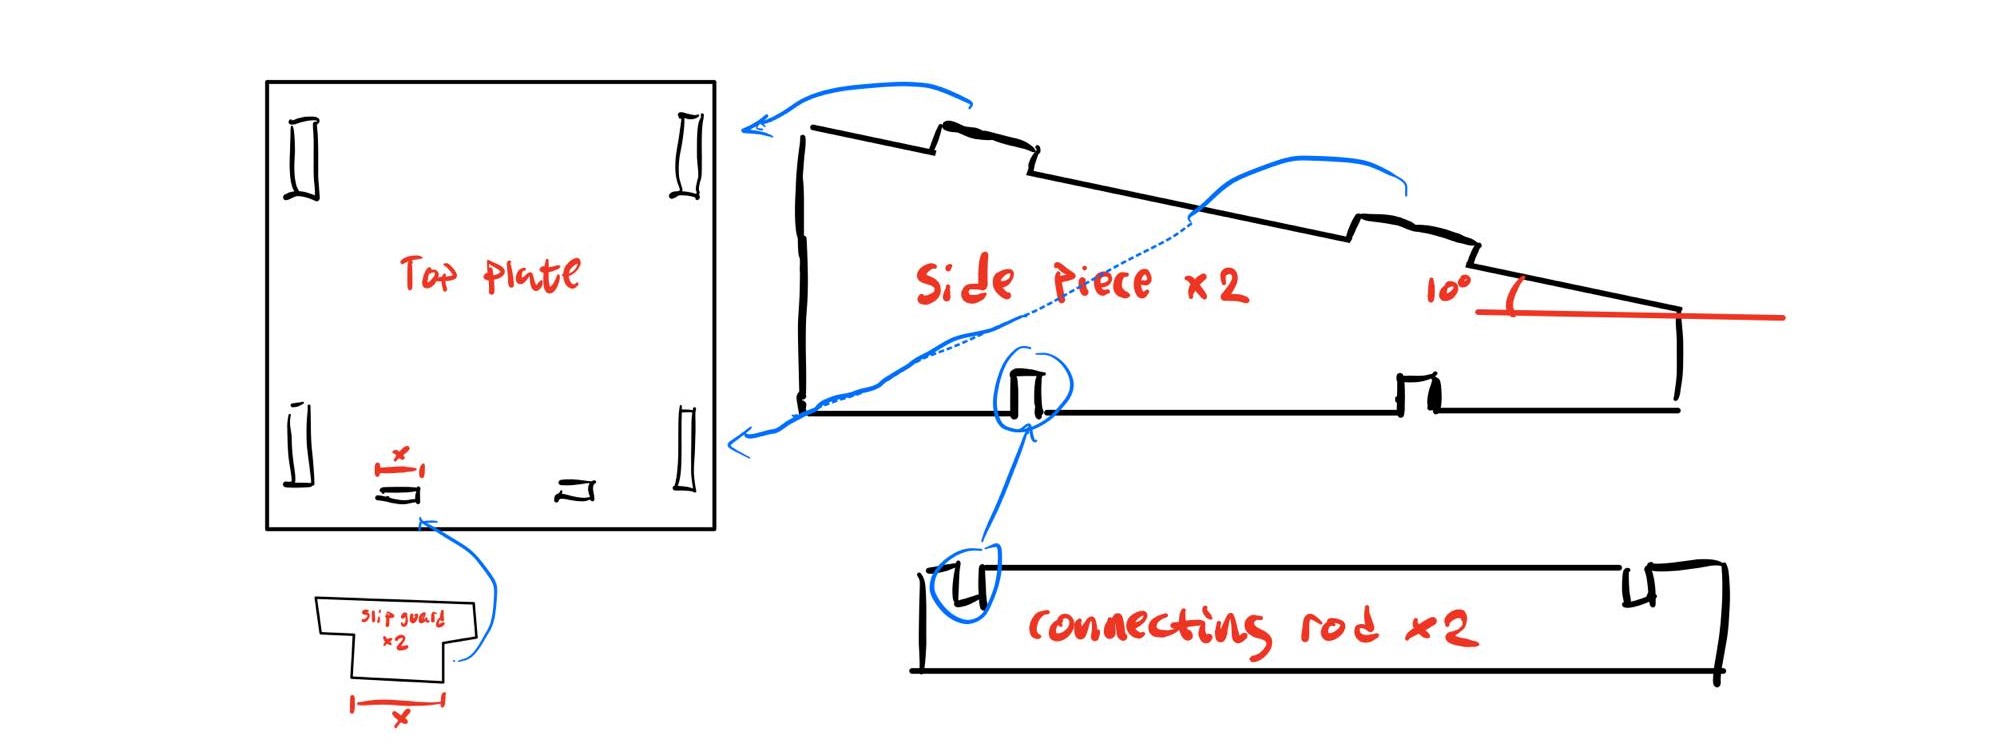
First I started by schetching a rough draft as to how i wanted the stand to function. After a little test with a spirit level, I found a 10° tilt upwards to be the best choice for my computer. Below you can see my first, rough draft:
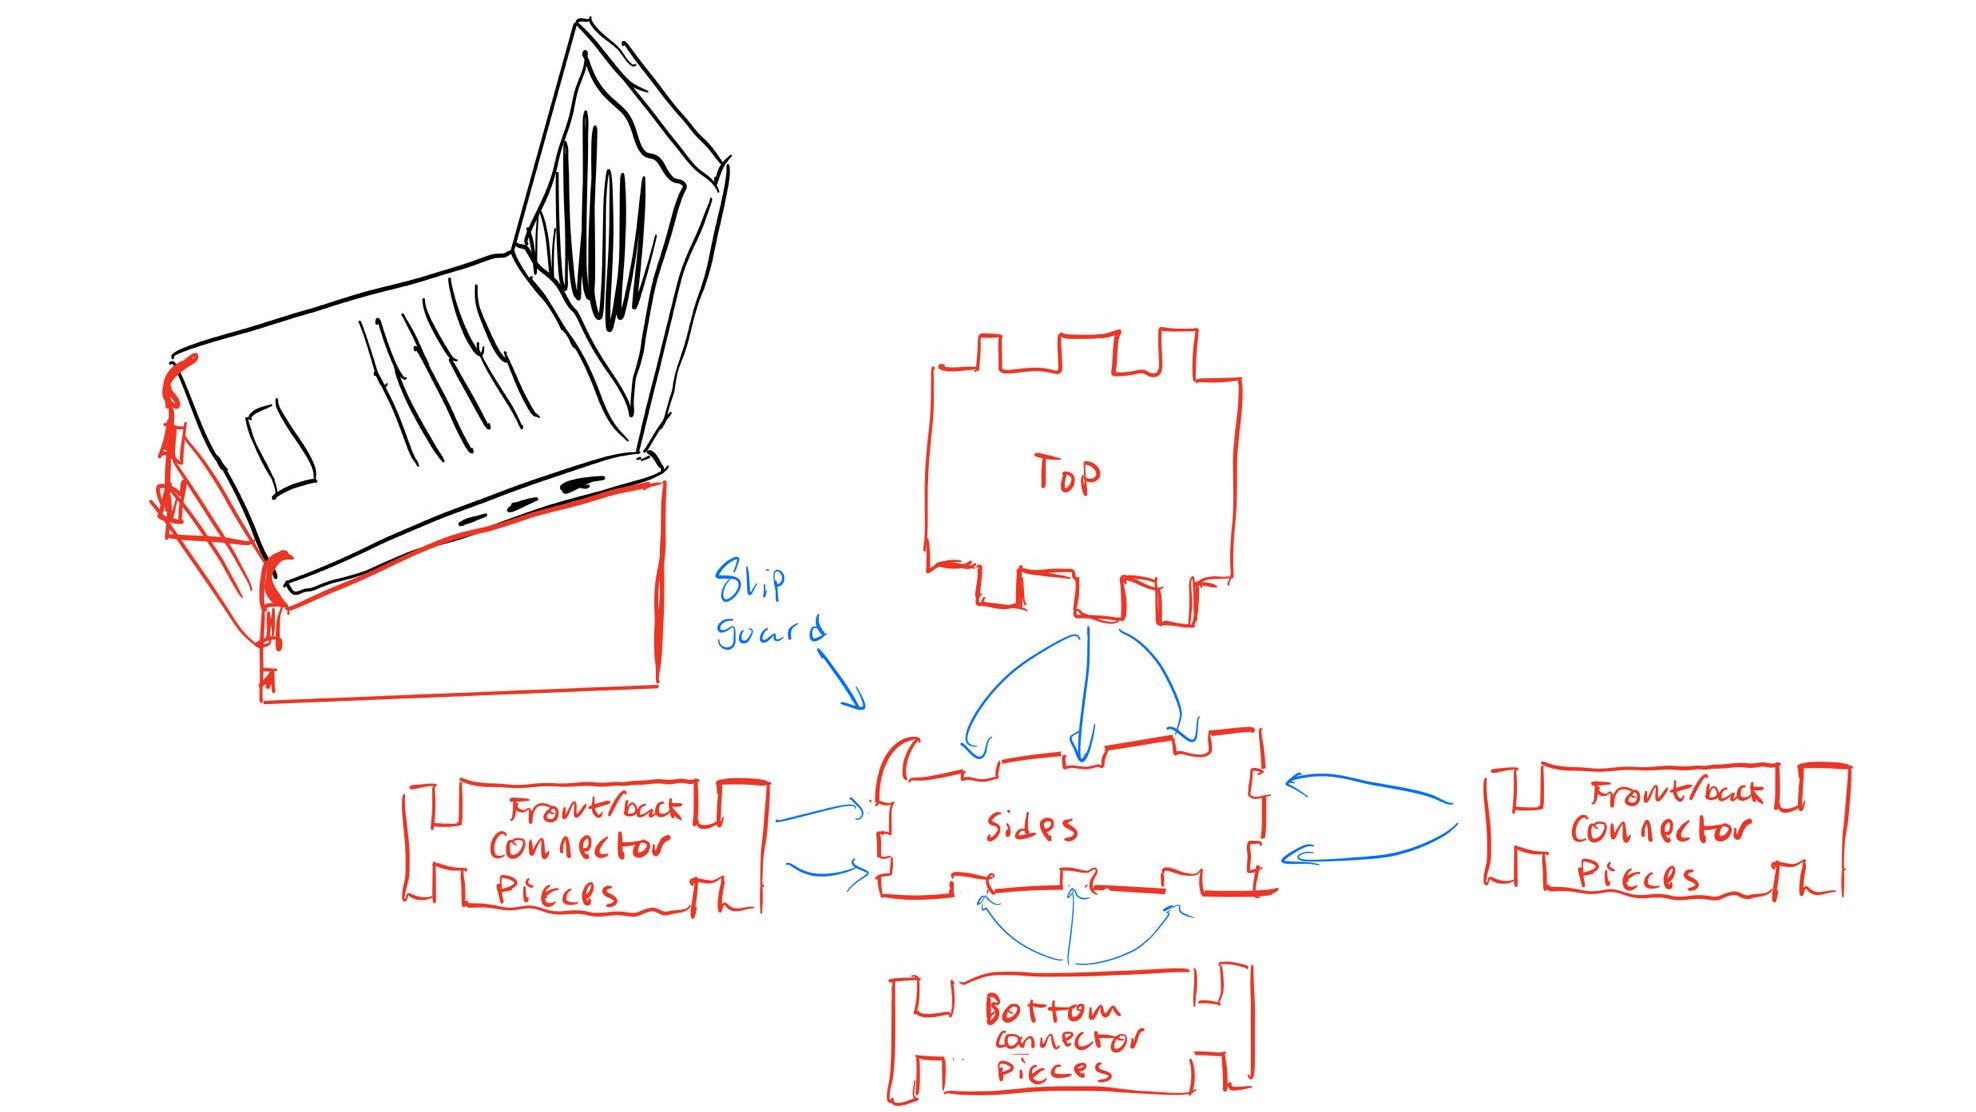
After due consideration, I deduced that this design vas not as sleek as I had initially planned. Therfore I got back to the drawing board. I changed the design by removing material where i deduced it would be redundant and adding removeable slip guard pieces. This second (and final draft) can be seen here below:
Kerf
Now that I had completed the design, I had to perform the "Kerf" test. The test is designed to minimize loss of material due to the laser following the middle of our drawn lines. When we do the Kerf test, we can offset the laser so that it doesn't remove material that it shouldn't. To perform the test we drew up a siple shape with slits and then measured how much material was lost, and divided by the number of cuts in between. The measurments and calculations yielded a Kerf of 0.18 mm. Here you can also view the video I consulted during the process of the laser cutting. This video shows how to set up the laser cutter according to the resulting Kerf, as well as othe practical information regarding exporting the file and such. Please note that the video is in Icelandic, but the settings the author uses are in English so the information the video provides could also prove useful for non-Icelandic speakers. Below you can see the measurements and images of the Kerf test itself:
CAD drawing
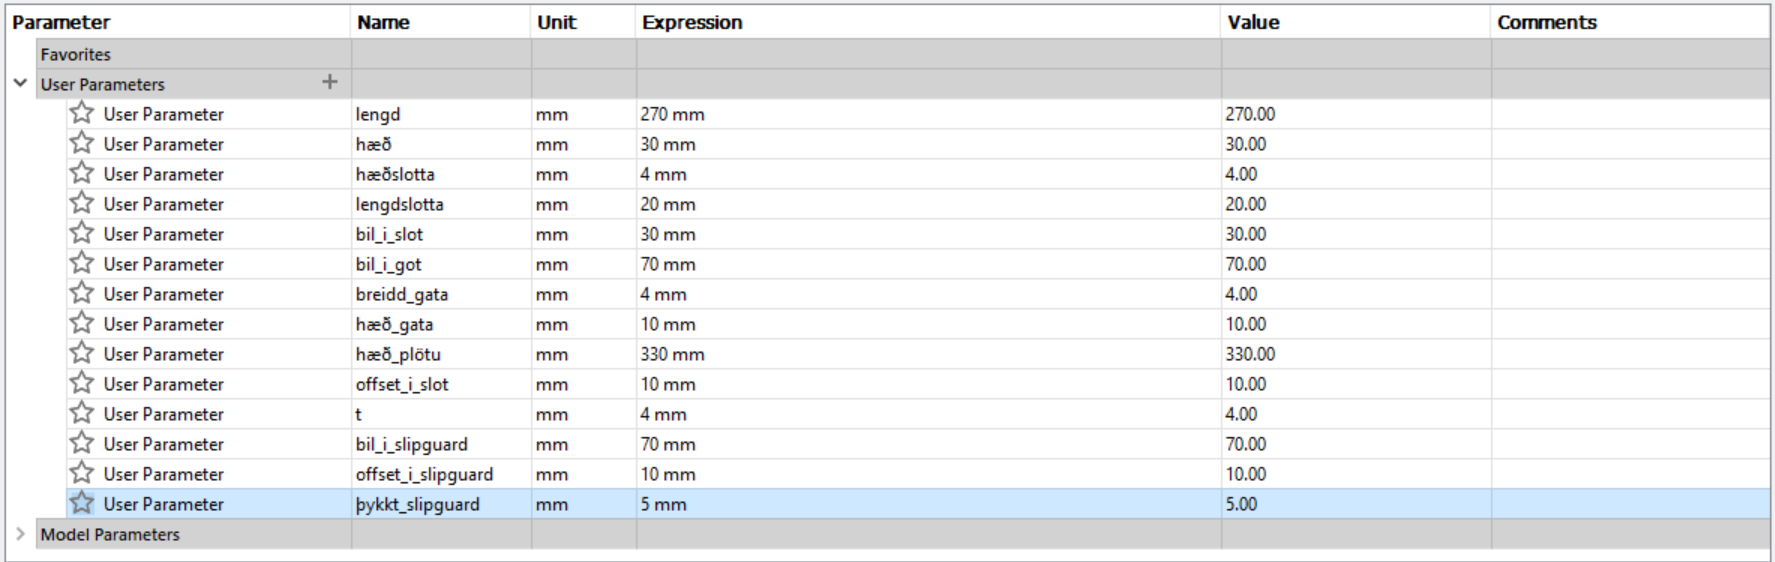
All I had to do now was to sketch the stand in Fusion 360. The important thing while drawing the stand is to keep the parameters in mind, so that if you decide to change the size, you can just change one parameter and the others will follow. The parameters are here below and also schematics of the stand in both Fusion 360 and Inkscape
.png)
.png)
.png)
laser cutting & results
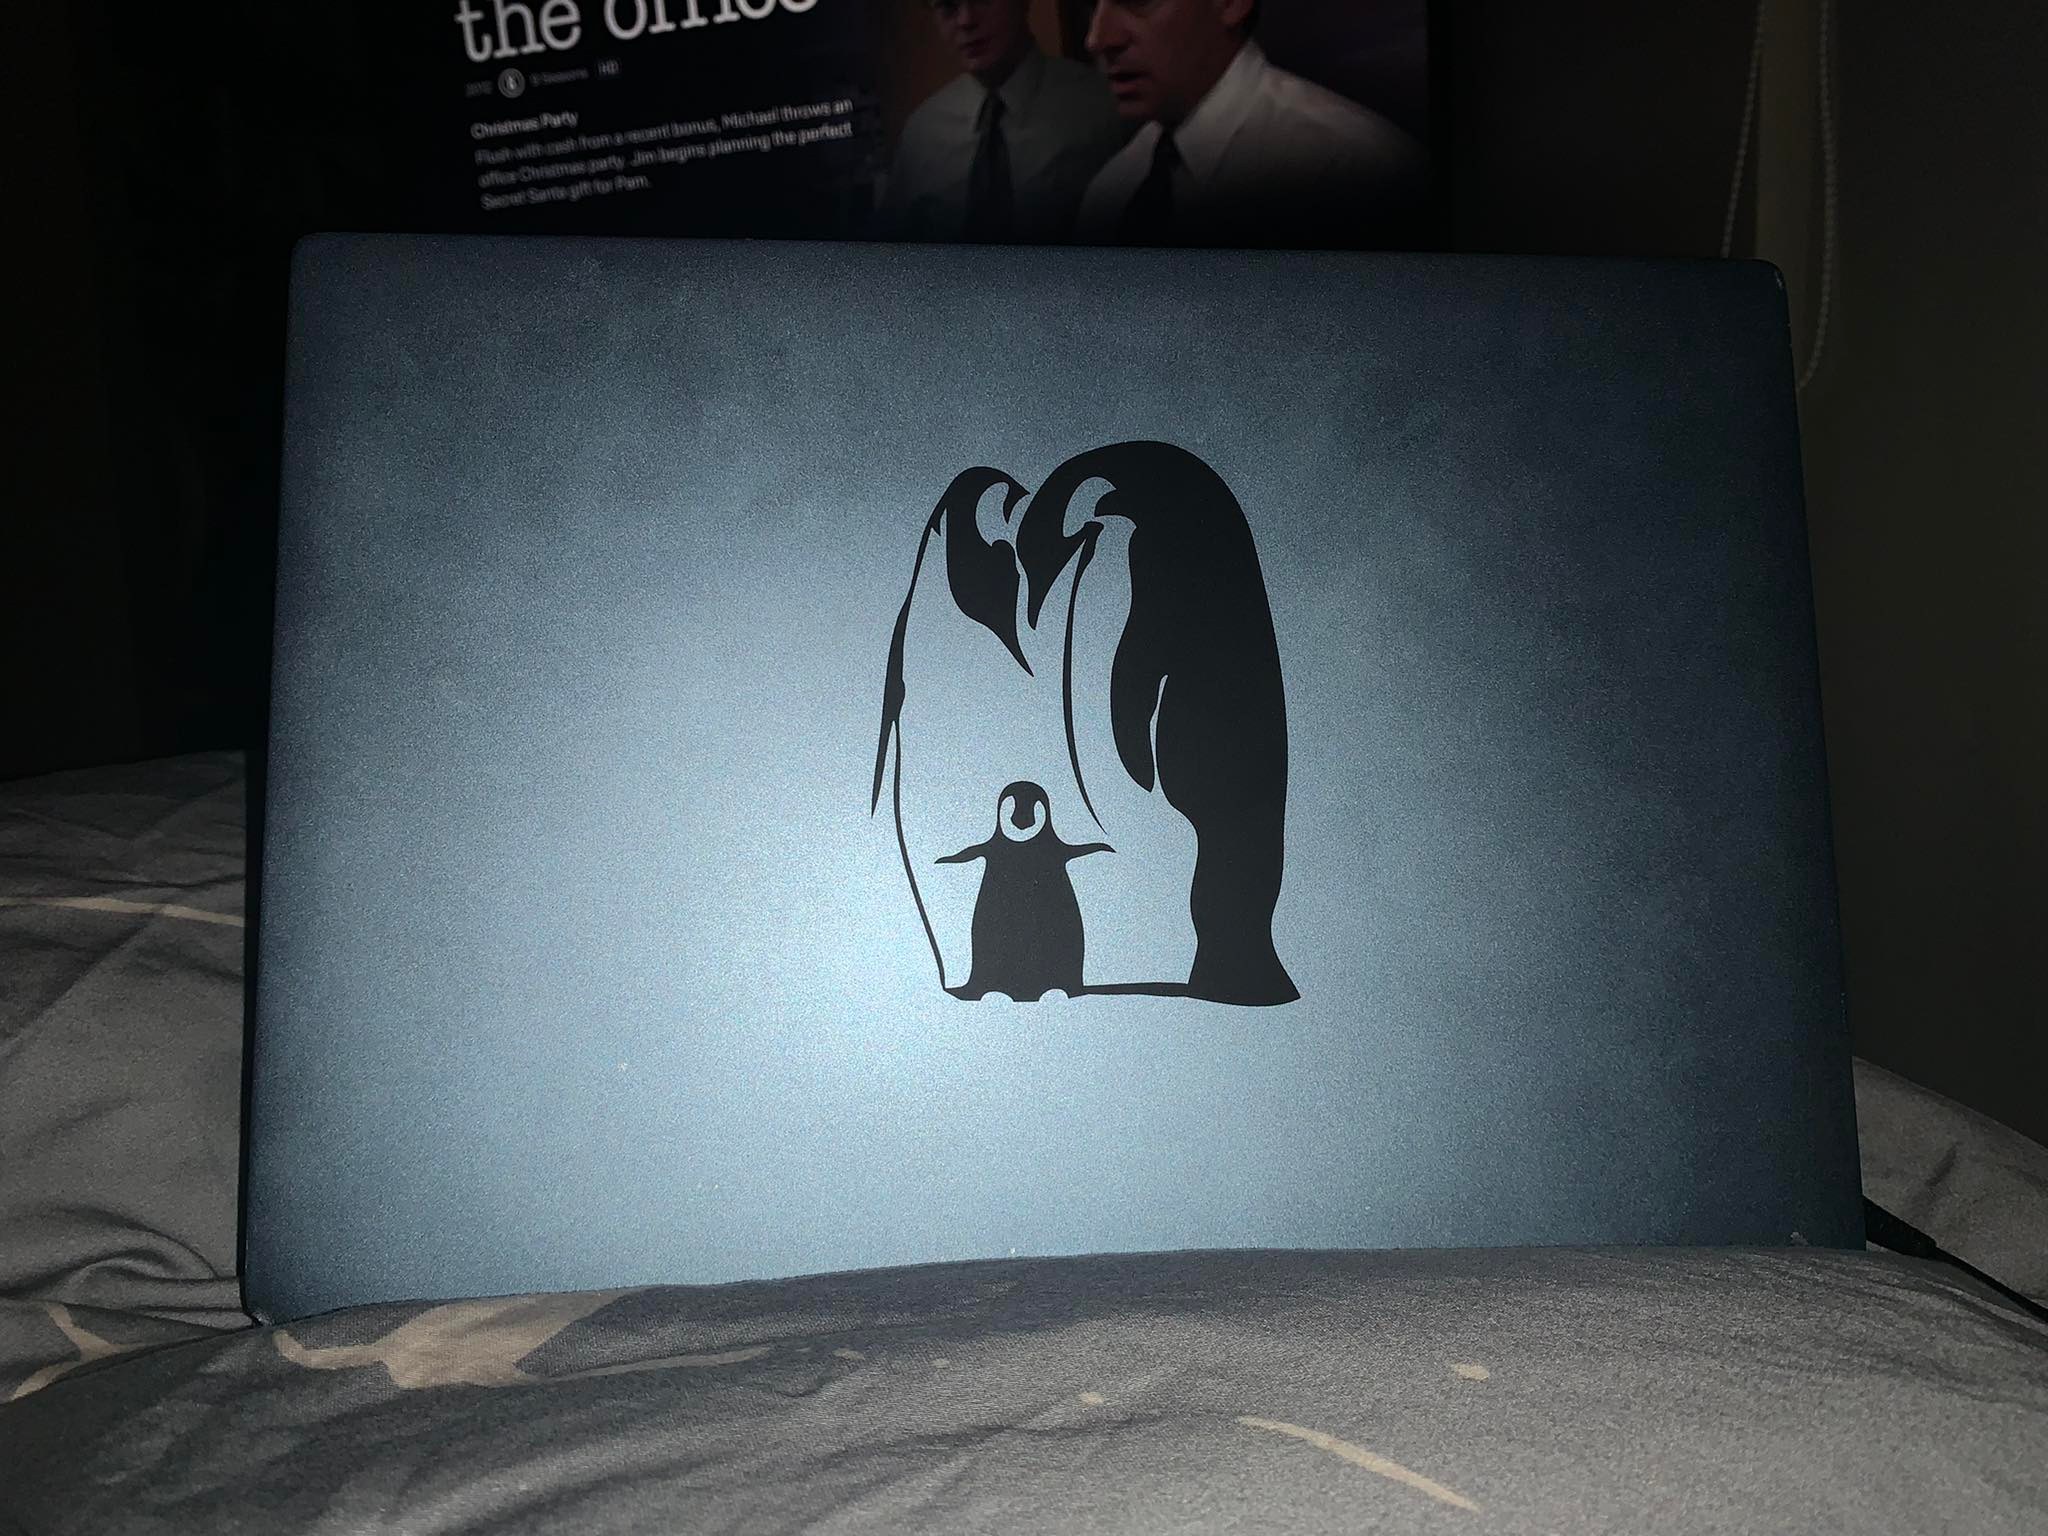
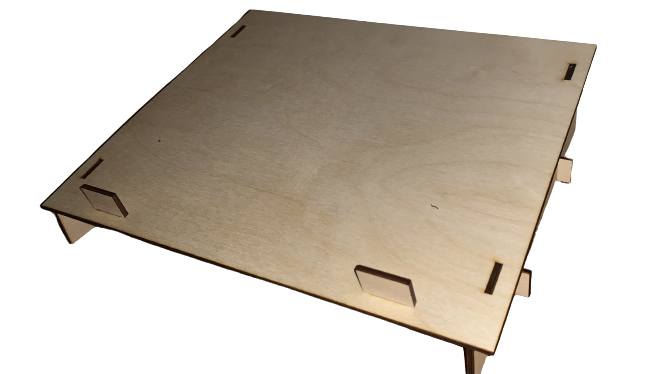
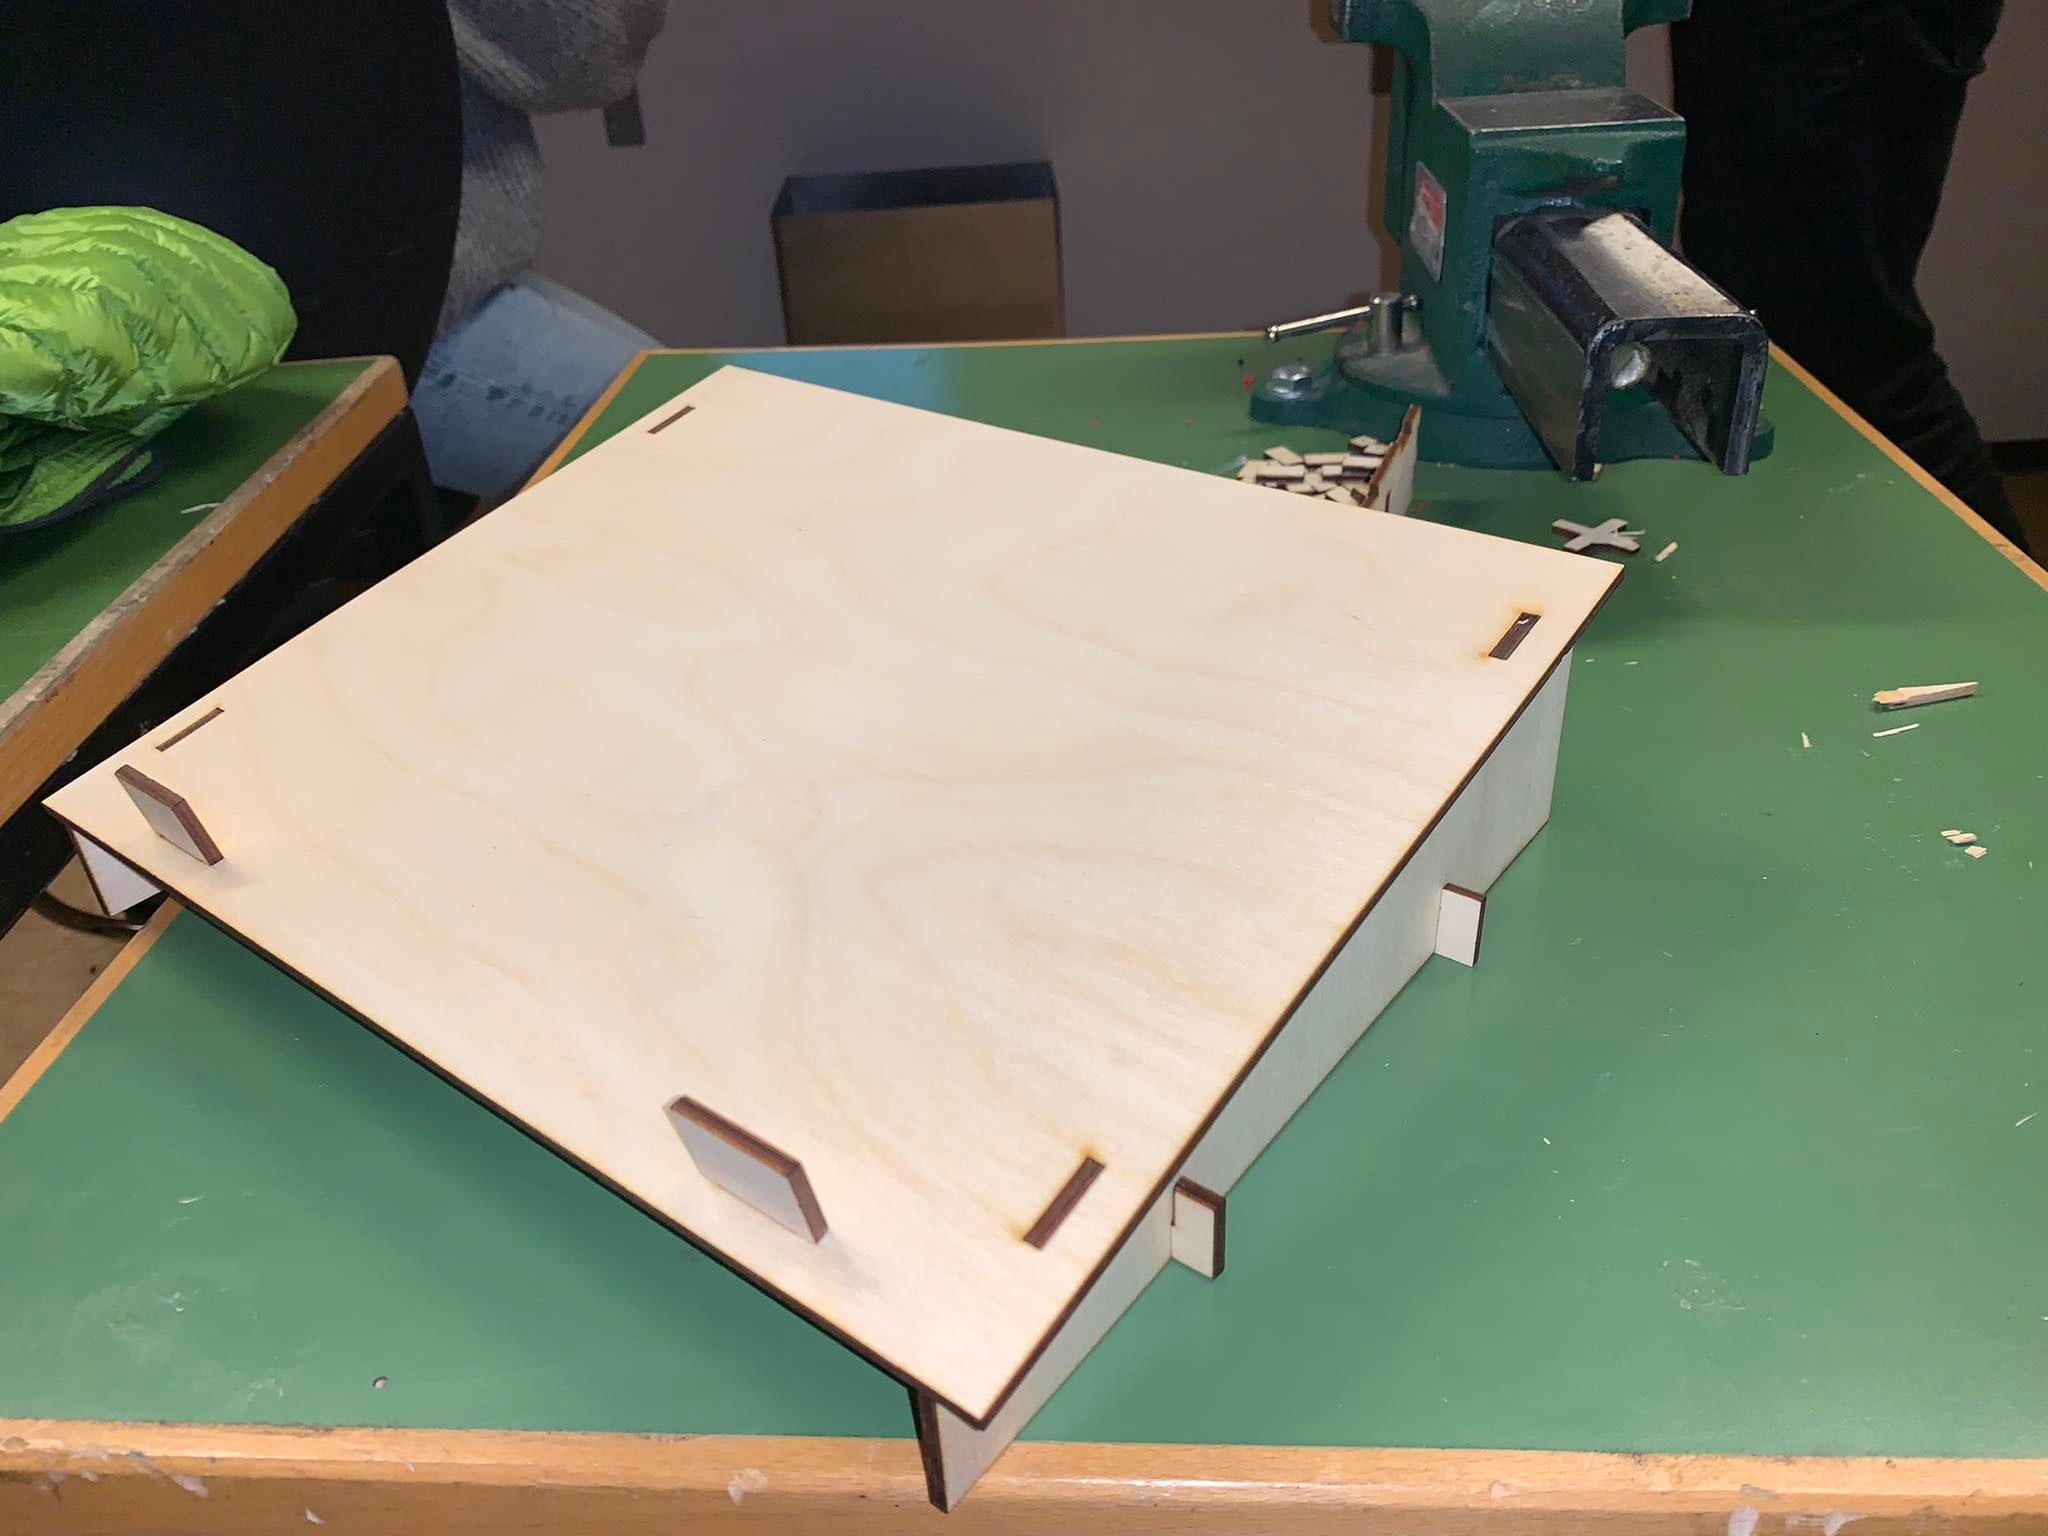
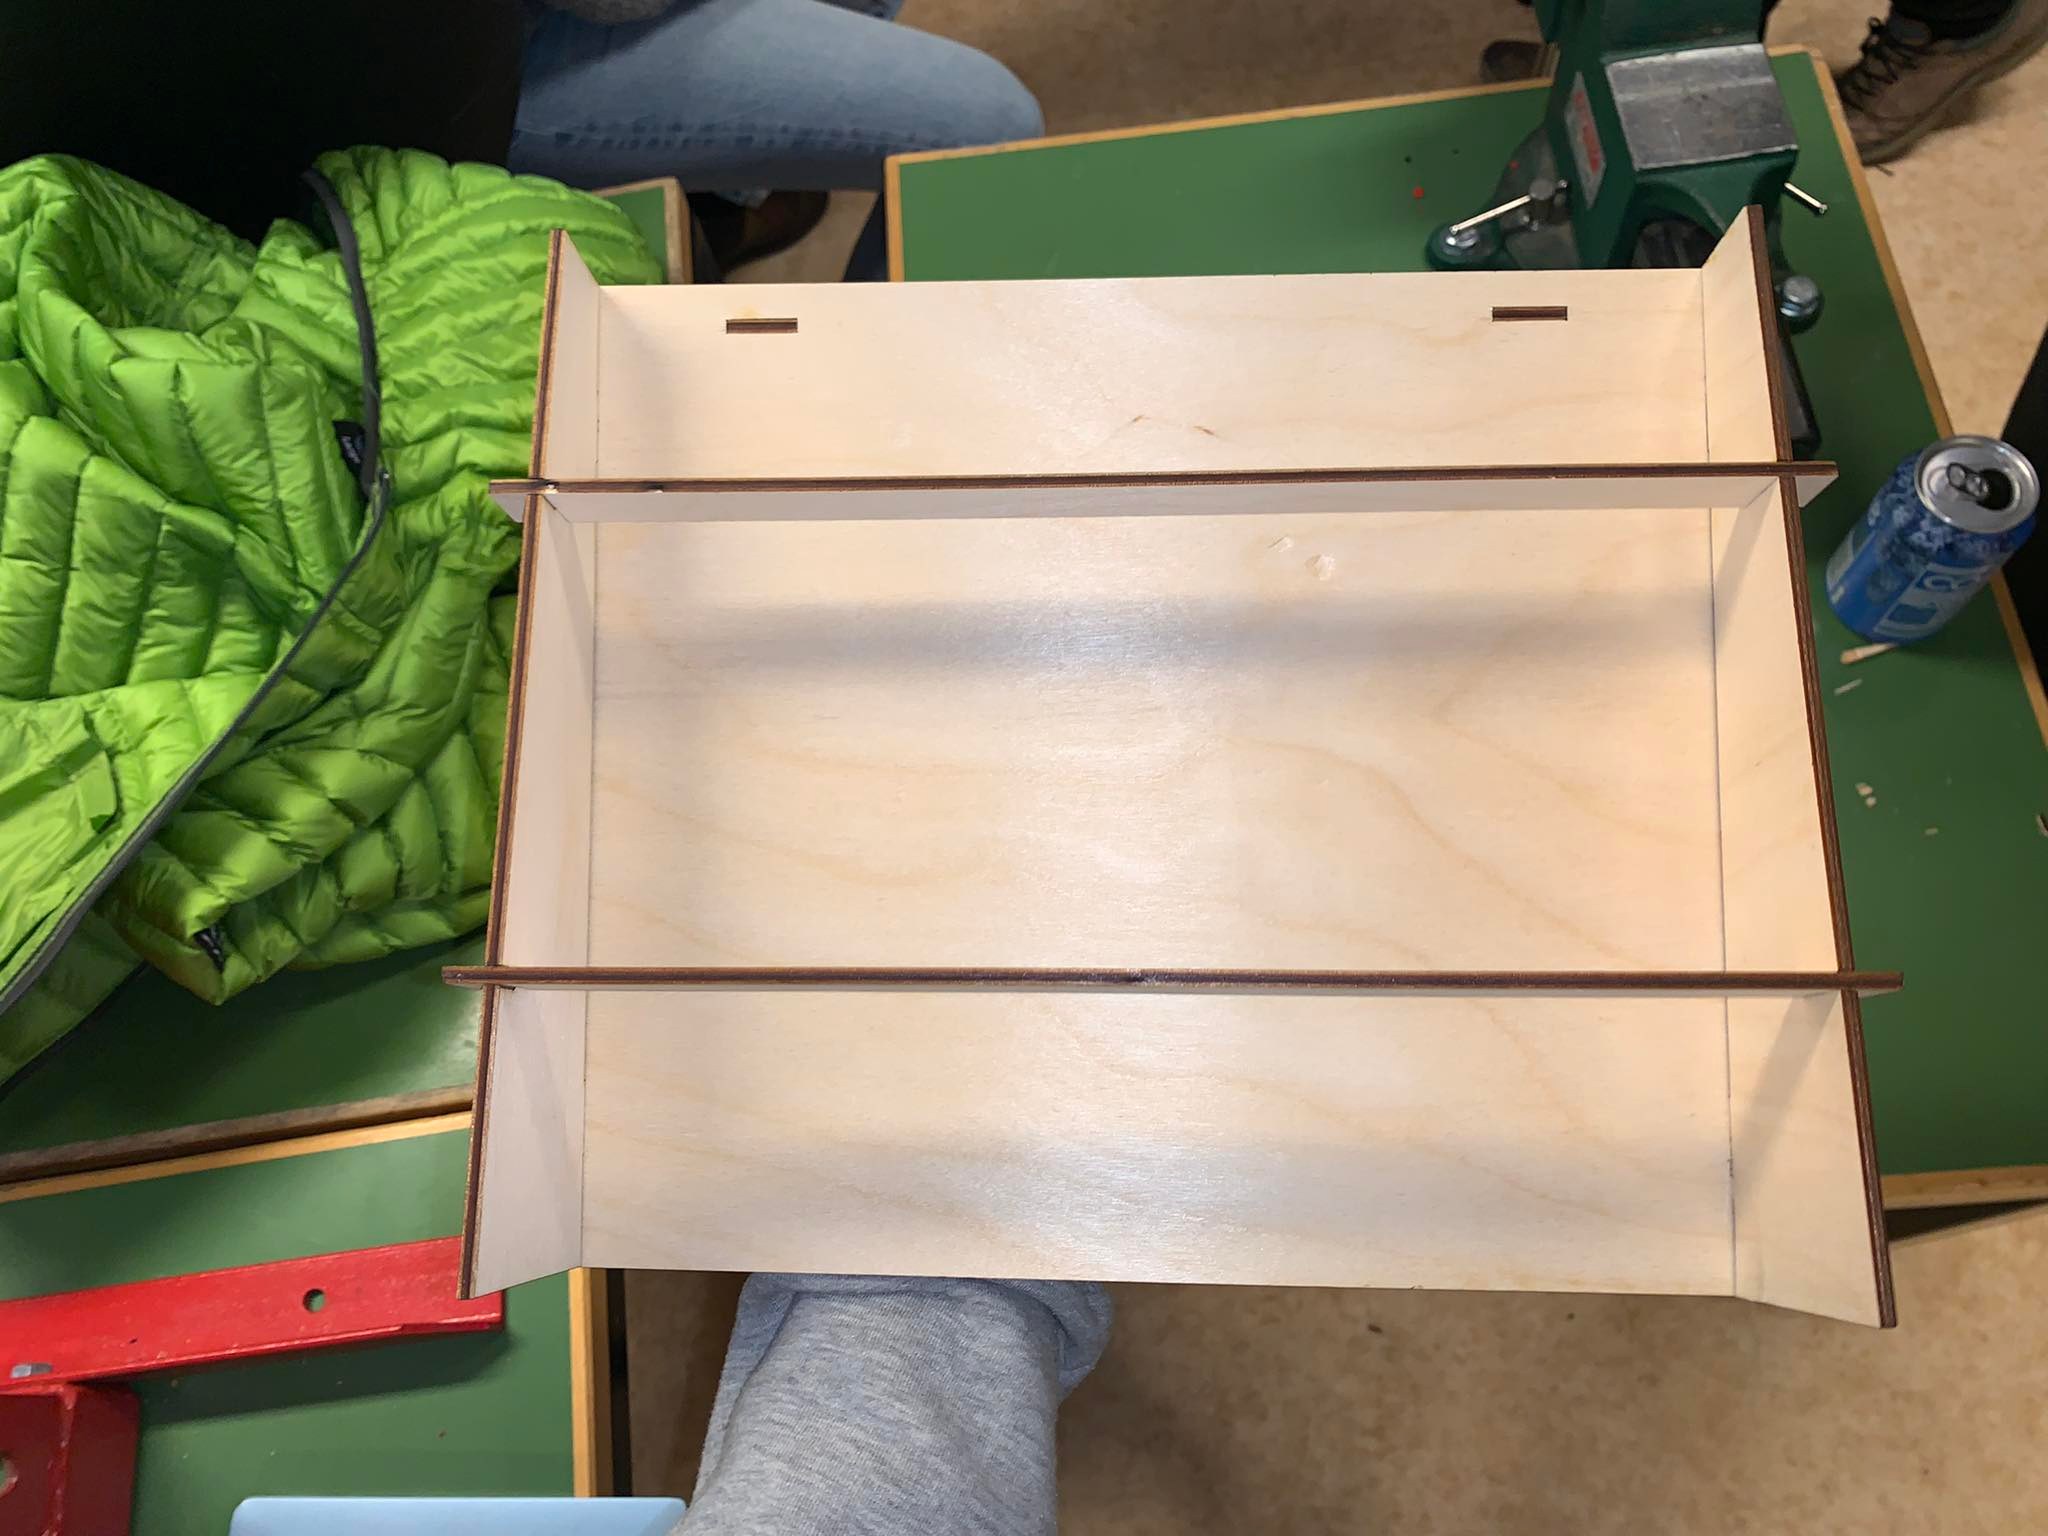
The program used in the laser cutting process is Inkscape. The program is pretty straightforward, an with a little advisement from my tutor I managed to laser cut my stand. The assignment Laser cutting was a success aside from one problem. The plate used to cut from was considerably warped, so the assembly proved probematic. However I managed to put everything together and after pressing the plate with a heavy atlas it corrected itself considerably. All in all a successful project. Below you can see some photos of the completed and assembled stand.
.jpg)
Files
By clicking here you can download the .f3d Fusion 360 file of the stand, which you can import into Inkscape and make the stand yourself.